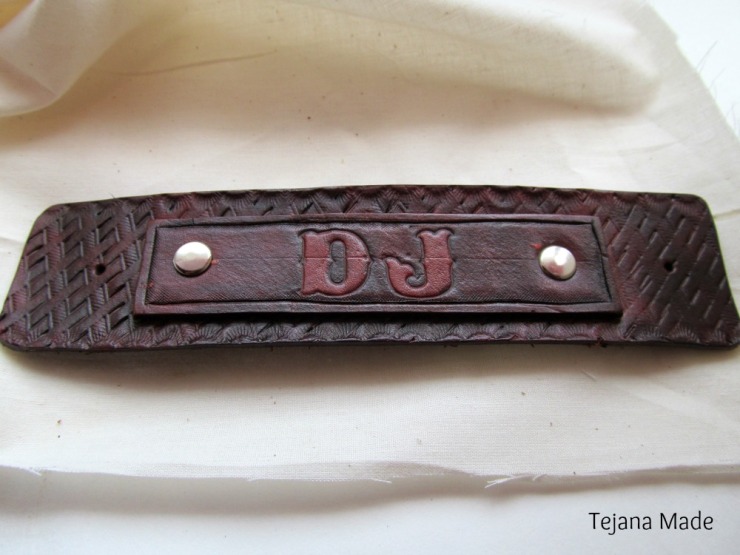
We just finished setting up our cuff in Part One. We glued the pieces together and now we are ready to dye. Now, some people dye the pieces before the glue. It is all about preference. Please remember that the you should always go by your own wrist measurements and make sure to add an inch.
I took a fine brush and applied Atomic Wax to the letters before dyeing. Allow to dry completely. I failed to do that but I liked the result.
I used Lt Brown Dye but it comes out a little dark. I keep thinking it will be tan but it is more of a reddish brown. Use a wool dauber to apply the dye. In addition, I used another fine line brush to apply dye in the crevices where the dauber could not reach.
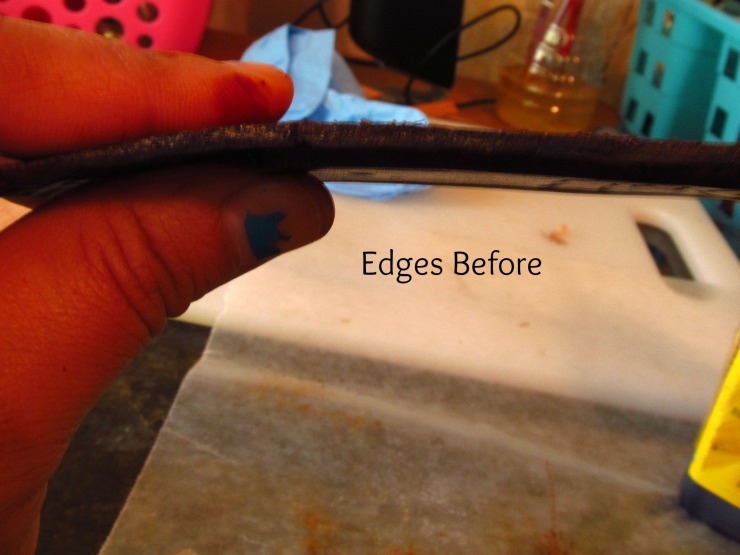
Do not forget about your edges. I also dye the back of my bracelets and as I mentioned before it is all a matter of preference. If you do not want to dye the back then you need to be extremely cautious when dyeing. It can easily seep into the flesh side. An option would be to use painter’s tape on the back and remove afterward. Sorry about my nail polish, yikes!
Allow bracelet to dry completely. Wipe off excess dye with a soft cloth.
When the bracelet is dry, it is time to do the edges. You can use a circle edge slicker or a bone folder. You can apply Gum Tragacanth or Beeswax, to the edges and began to work the edge.
Add rivets and snaps according to instructions.
Congratulations! A cuff worthy of any little Cowboy!
Jessie


This is so cool! I didn’t realize there were so many intricate steps in making leather jewelry. Awesome job.
It makes me miss jewelry stringing.
Your leather designs are awesome! To late to turn back now. ;)
oohh I really like this project, very different, and great instructions!