I have been needing to get back on the DIY wagon and the Ice Resin I have was calling my name. My first pendants didn’t really come out the way that I wanted them to in fact they came out awful.
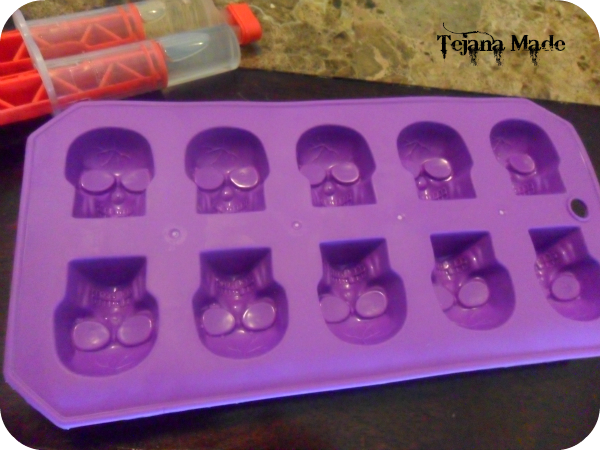
I watched this video on the Ice Resin Blog and let the resin sit for five minutes before pouring. I was also reading up on different sites about using non resin molds to work with. I saw these at my local dollar store and knew that I could use them for my jewelry.
I used the measurable Ice Resin that cost around 11.00 dollars at my local Hobby Lobby.
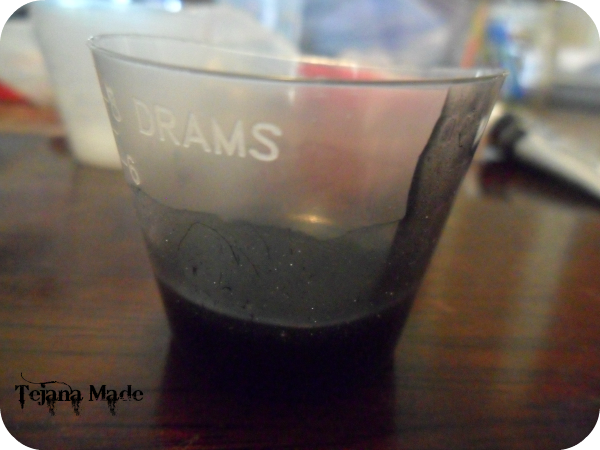
I added in a small drop of black acrylic paint. Mix the resin and let sit for five minutes until the bubbles have popped
I poured the resin halfway into each cavity and allowed to cure.
 I am anxious to see what it is going to look like since my first resin trial was less than successful.Resin allows you to add dimension to your pieces and like polymer can be manipulated to express creativity.


very cool! Can’t wait to see outcome!
Cant wait to see the end result!
Really interested to see what you will do with them–feeling Halloween coming on!